HD Forensics Laboratory
You will enter the course through the HD Forensics Laboratory. This is where you will be introduced to the course and become familiarized with how to interact with your environment. You will have the opportunity to explore the laboratory and learn more about the artifacts and drawers in the lab. On the shelves are examples of human skulls that you can pick up and examine. We have also included some highly recommended textbooks that focus on Human Osteology that will serve as very useful supplements to this course.
The drawers contain animal bones and examples of human skeletal variation, trauma, and pathology. The folders on the table contain pictures of the range of cases forensic anthropologists typically work on as an example of specialists who use their expertise in Human Osteology every day.
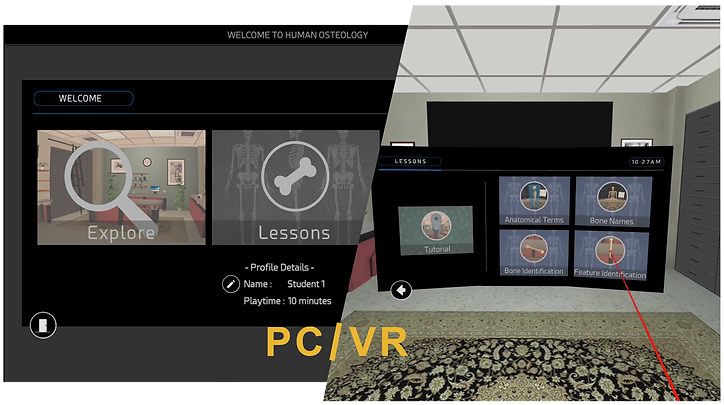
Lesson 1: Anatomical Terms
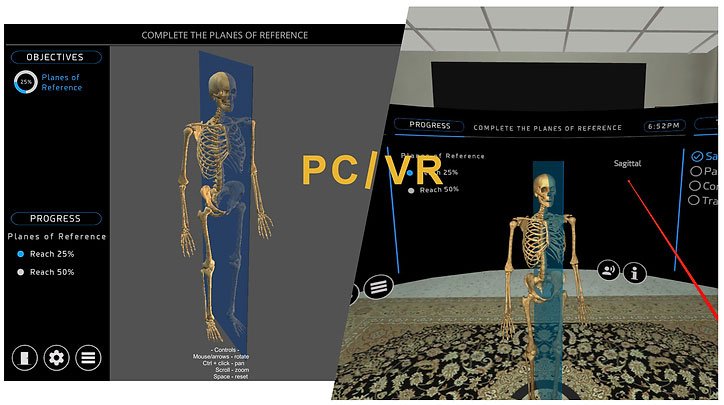
Next, entering the main part of the course, you will be presented with definitions of directional terms (e.g., proximal-distal, medial-lateral), anatomical planes of reference (sagittal, coronal planes) which will help orient where you are in the body and understand the position and location of the bones relative to one another in the articulated state. Reference planes are important for medical imaging techniques such as MRI and CT scans and sonography. The information in this lesson will provide an excellent foundation for the rest of the course.
Lesson 2: Bone Names
This part of the course requires you to learn the individual bone names as well as how to spell and pronounce them. You will also learn where each bone is located in the human body, relative to other bones.
Lesson 3: Individual Bone Identification
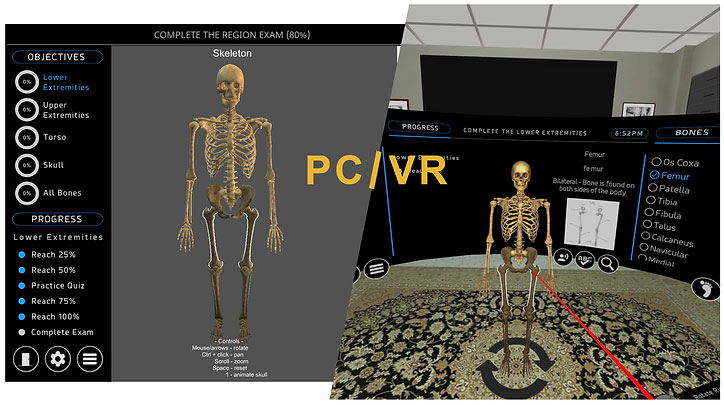
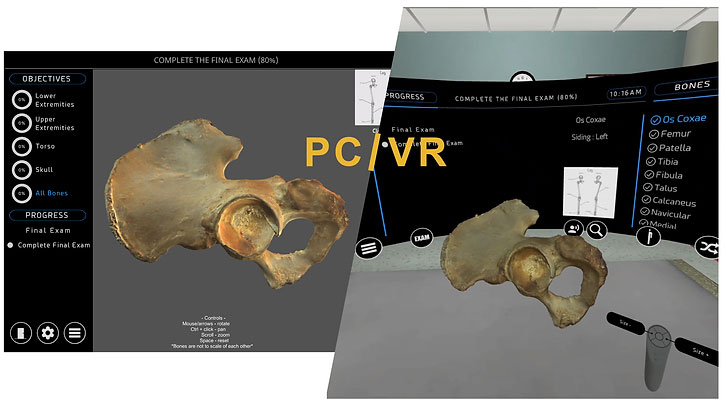
In this section of the course, you will learn how to identify the individual bones and sides by sight. You will be able to ‘pick up’ bones in your hands, rotate them, and bring them closer to your vision (zoom in and out). A standing articulated skeleton and hand-drawn diagrams of articulated bones are available nearby to help you orient the bones anatomically.
Lesson 4: Individual Bone Features
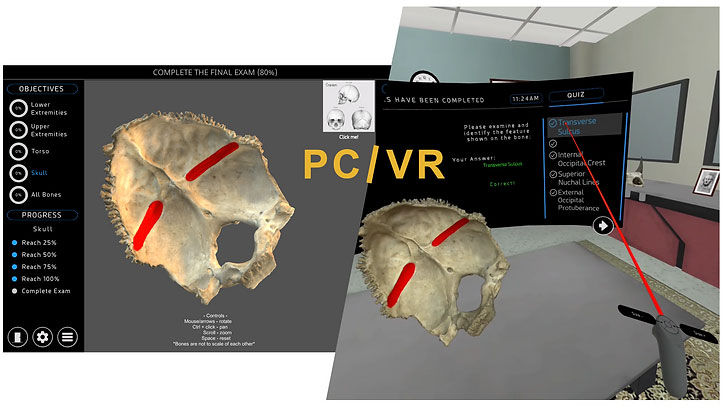
The final lesson will focus on learning the major features of all the bones. The full 3D extent of each feature (e.g., muscle attachment, acetabulum) is ‘painted’ onto the bone, rather than just a line pointing to it. This is a significant benefit for understanding the feature.
The real ‘claim-to-fame’ of this course is that you will be virtually holding real human bones in your hands, turning them over, inspecting them up close, and examining the minute details. This ‘hands-on’ approach will assist you in creating strategies to remember the names, features, and sides of the 206 bones in the human body.
